Timmy Persson is one of the few Scandinavians to make his own jeans completely from scratch.
Earlier this week he discussed how he makes the patterns for his jeans (read it here).
This time he takes us through step by step how the fabric is cut and the jeans are sewn.
Step 1:
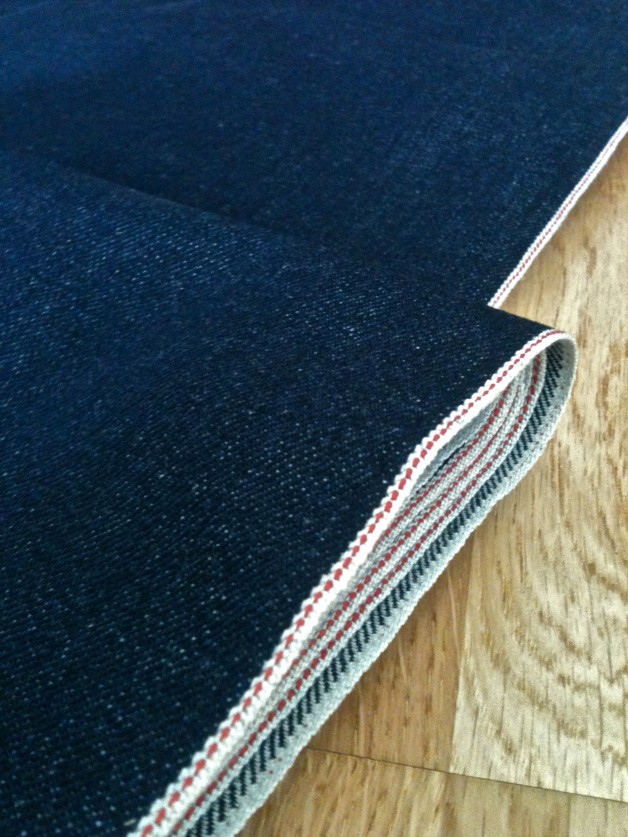
I’ll begin with a tip on how to get ahold of the things you need to make a pair of jeans. I had a hard time here in Sweden finding a fabric that suited my taste. Both decent rivets and buttons are also hard to come by. My research led me to a website called TaylorTailor where you can find everything you need. The shipping time is about two weeks.
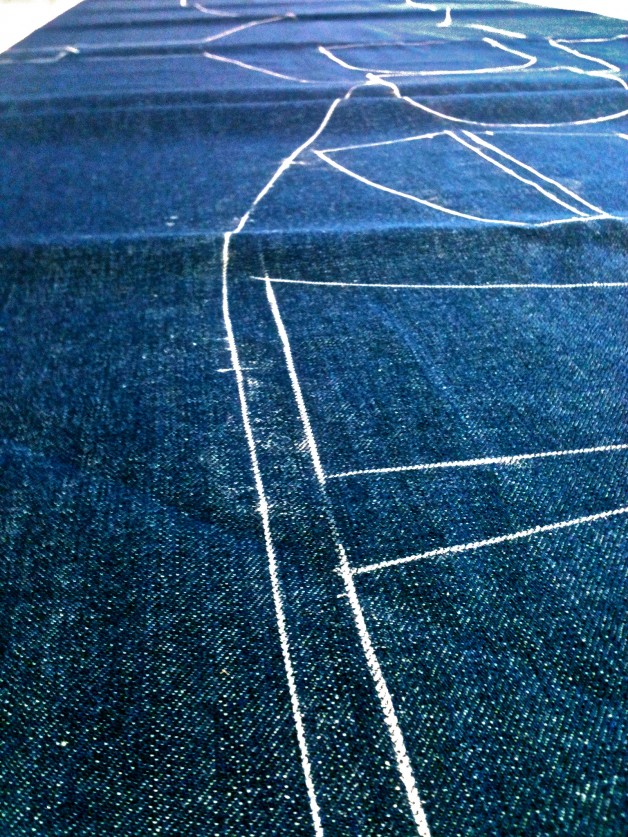
When the fabric has arrived it’s time to put the pattern pieces on to the denim.
Step 2:
Since I want to use the selvedge on my out-seams there is only one way to place the leg patterns on. The rest of the pieces you might have to puzzle around a bit to optimise use of the fabric. However, keep in mind that you have to hold the grain line to prevent twisting, although the fabric itself might make a leg twist. But that’s just nice, right?!
Step 3:
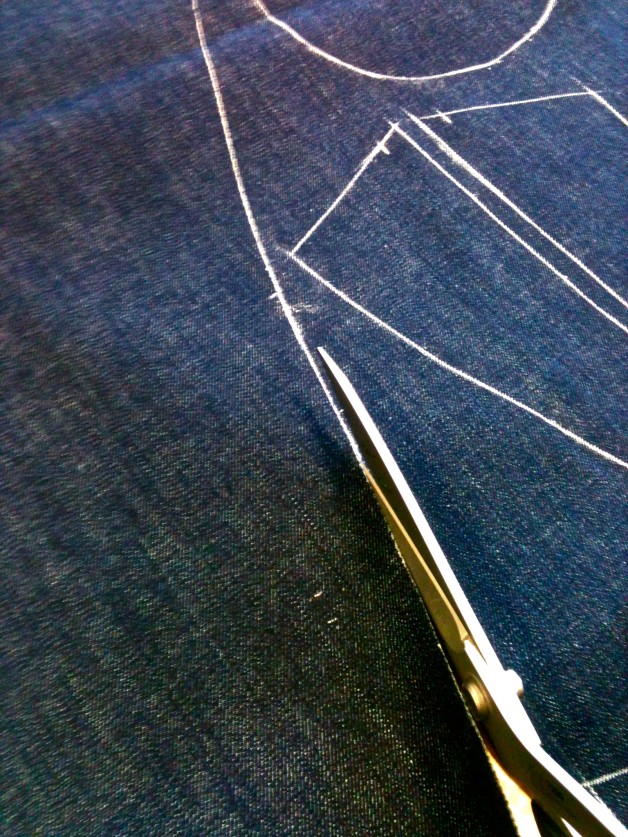
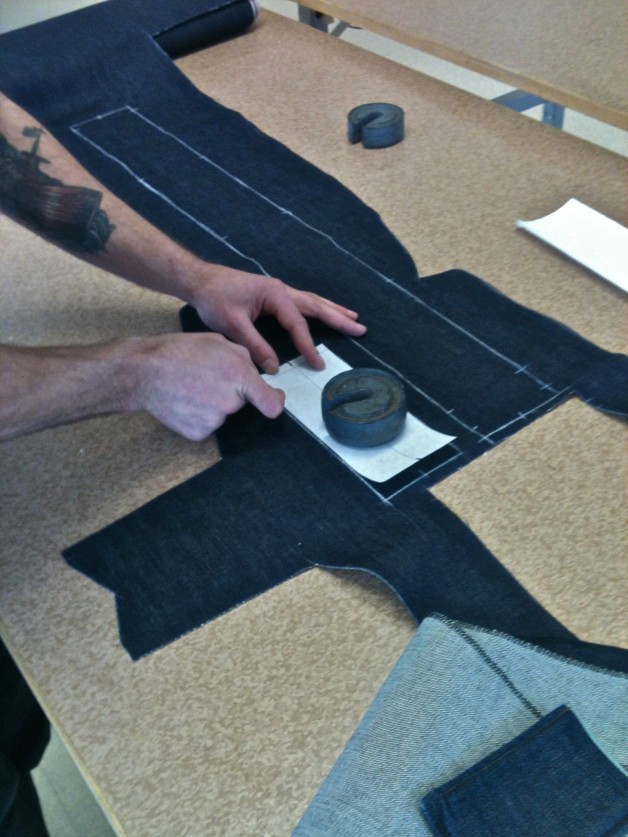
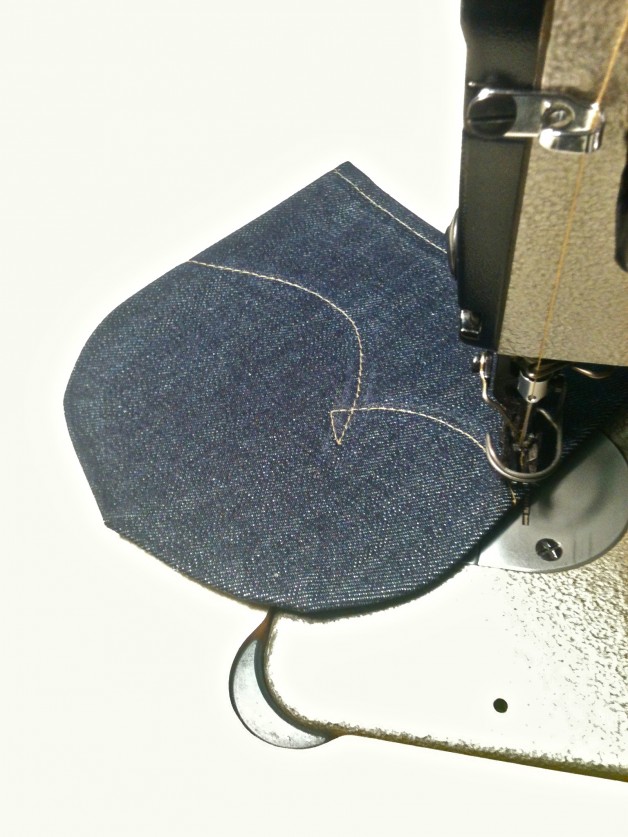
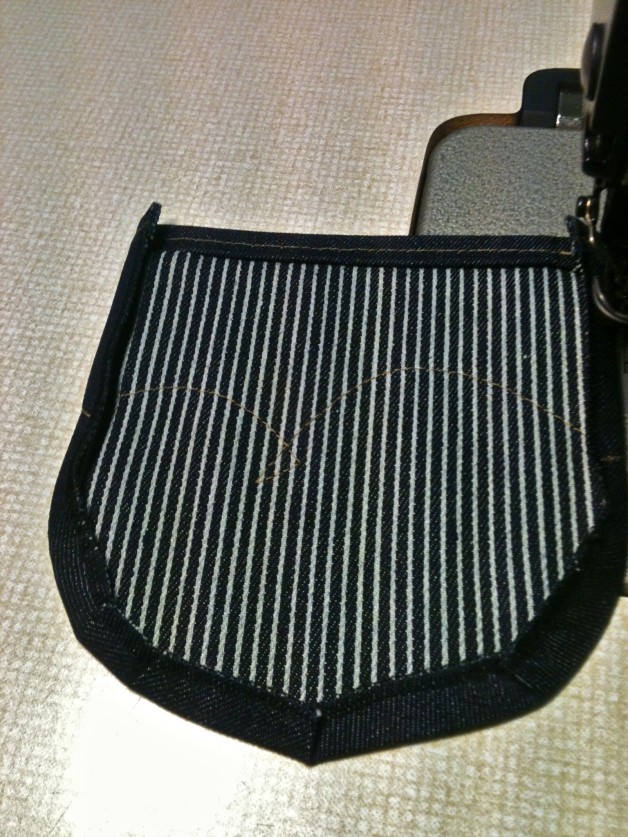
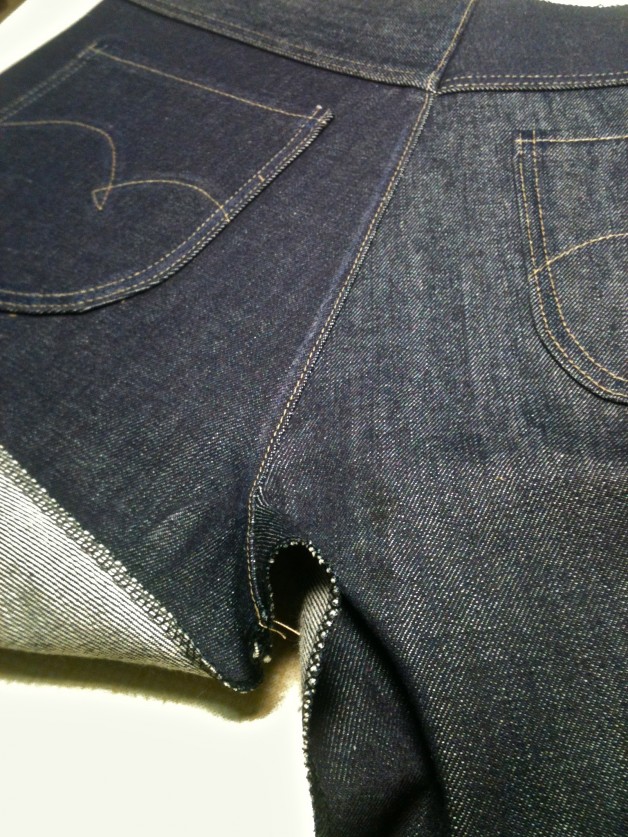
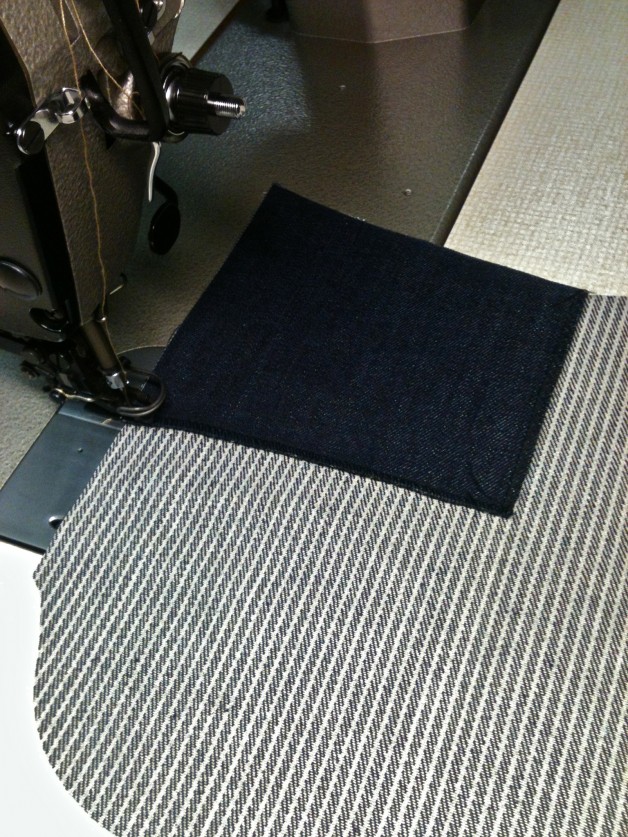
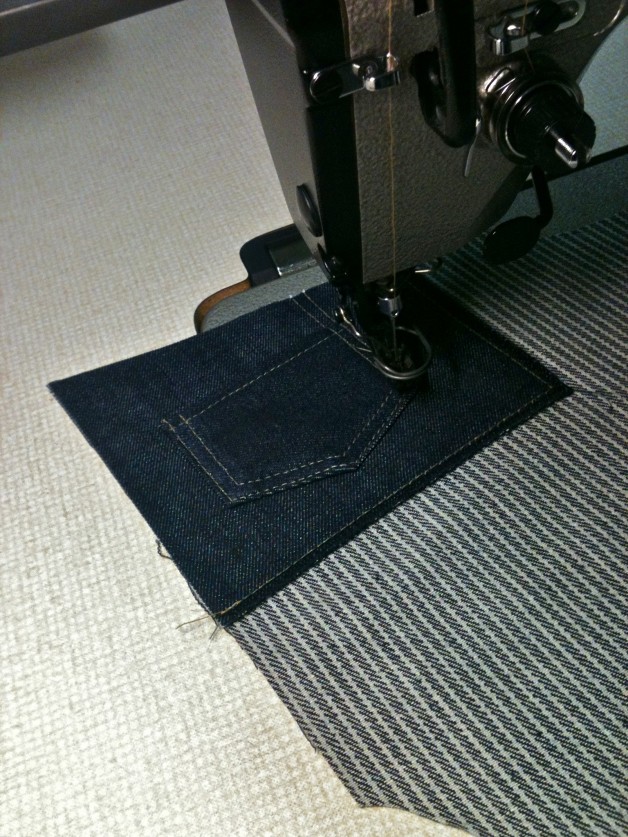
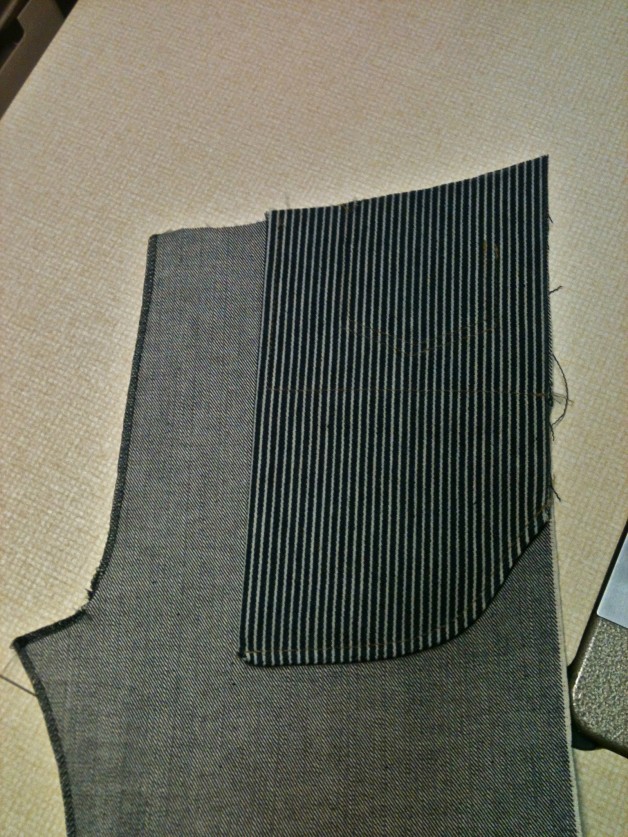
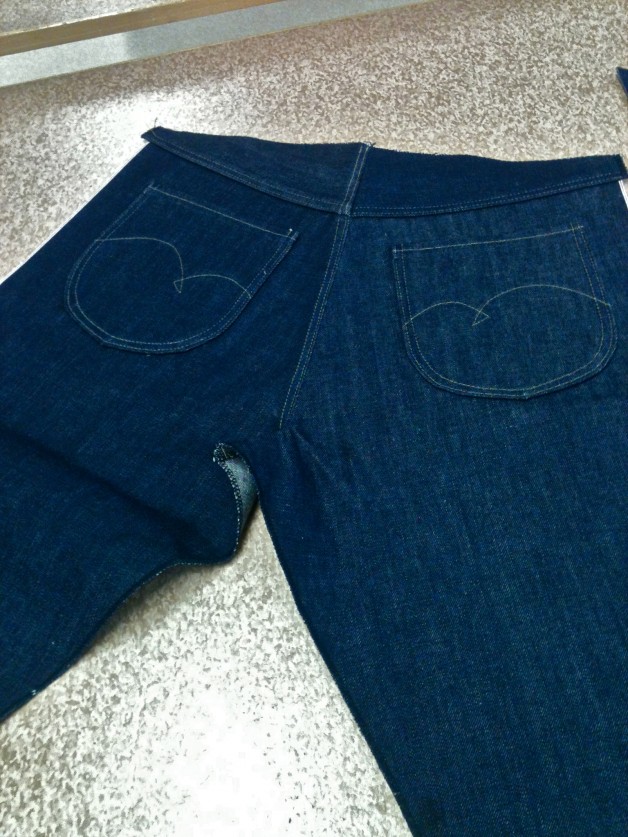
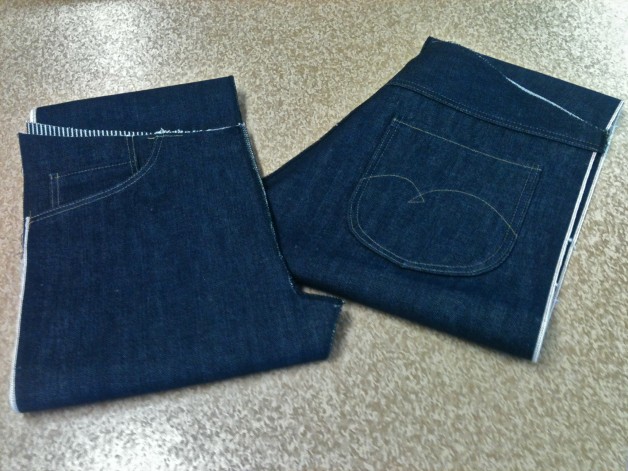
Cut out all your pieces and start sewing. I was kind of curious about what the back pockets would look like, so I started working on the back pieces. The first thing to do is to attach the yoke. Now to the pockets: since I’m going to have rounded pockets I did a template that I ironed the edges over just to get the shaping right. Then I fastened the pocket lining with the top seam and the arcuate, which I free-handed.
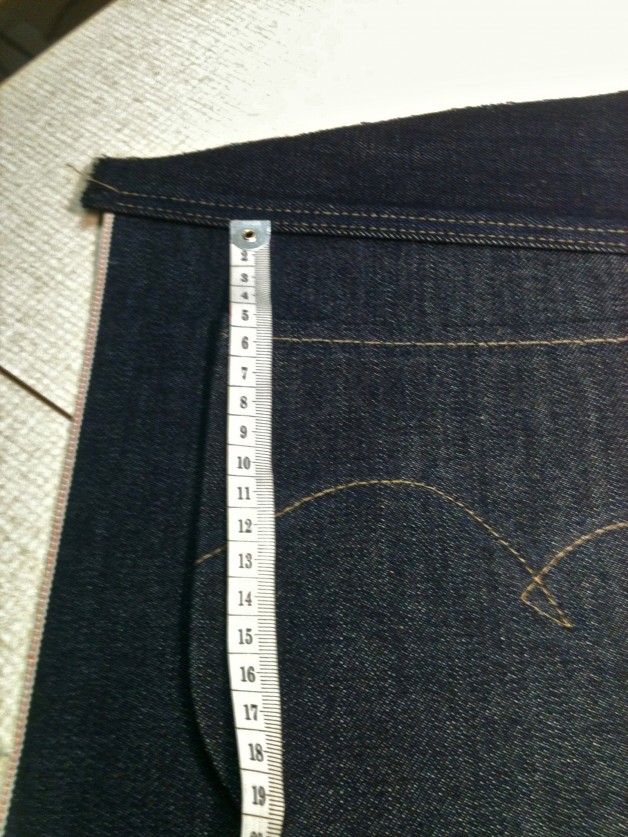
Over to the placing of the back pockets. Obviously it’s important that they’re placed at the same spot on both sides, so measure with care. Since I want a vintage look on my jeans, I placed them close to the outer seams; a throw back to when jeans were still used as work pants and you needed to have easy access to your tools.
Now, you just have to put together the back pieces with each other. The back piece is done for now.
Step 5:
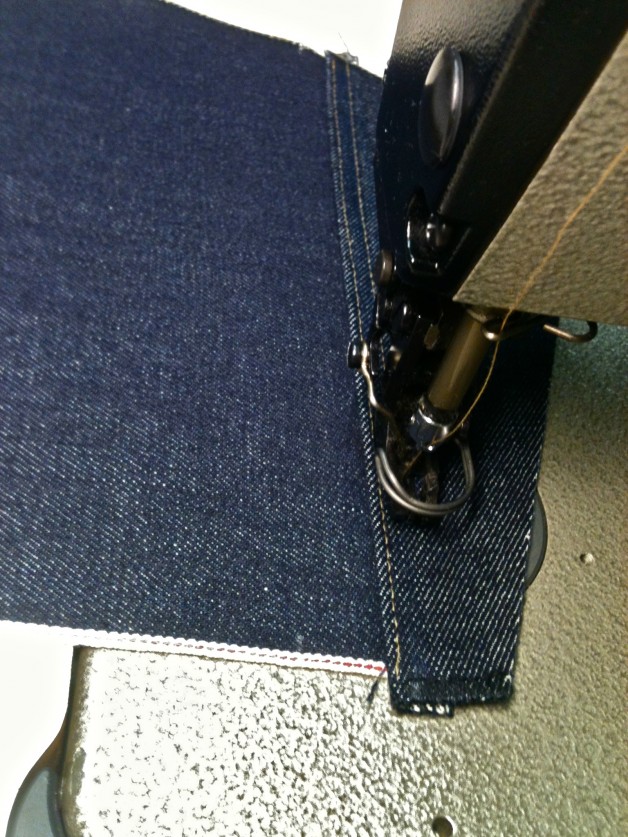
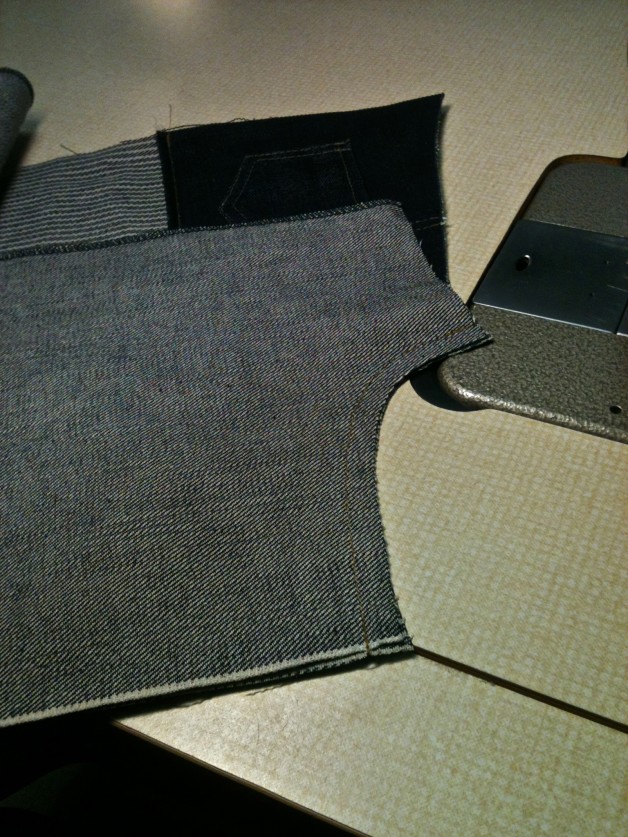
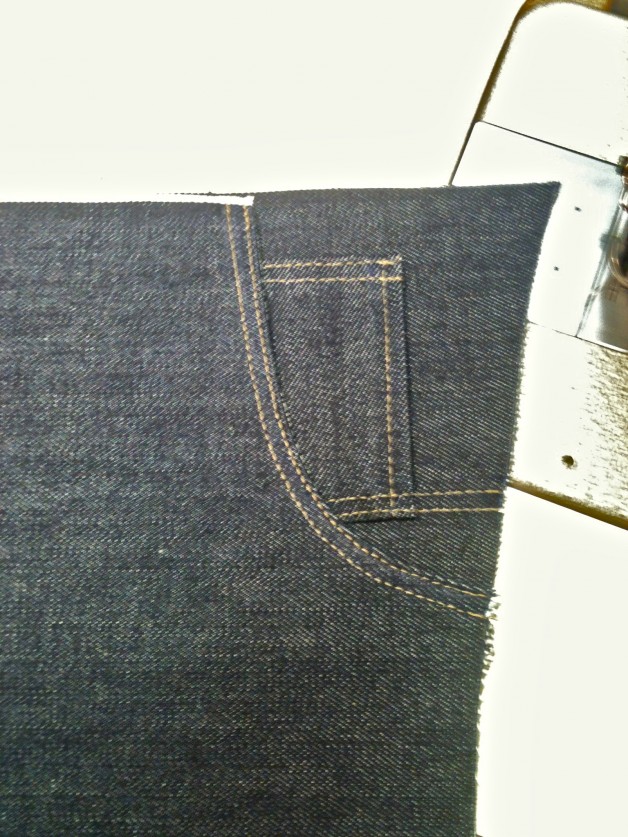
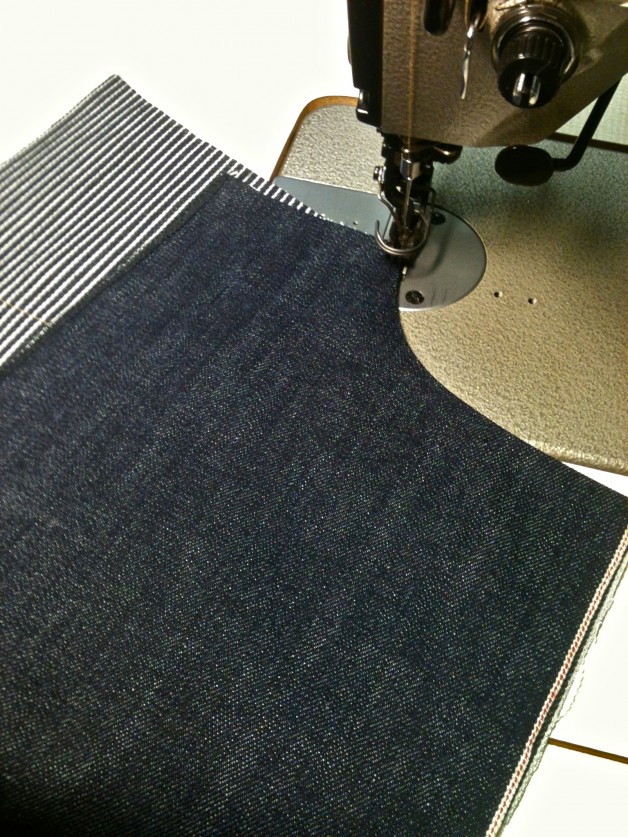
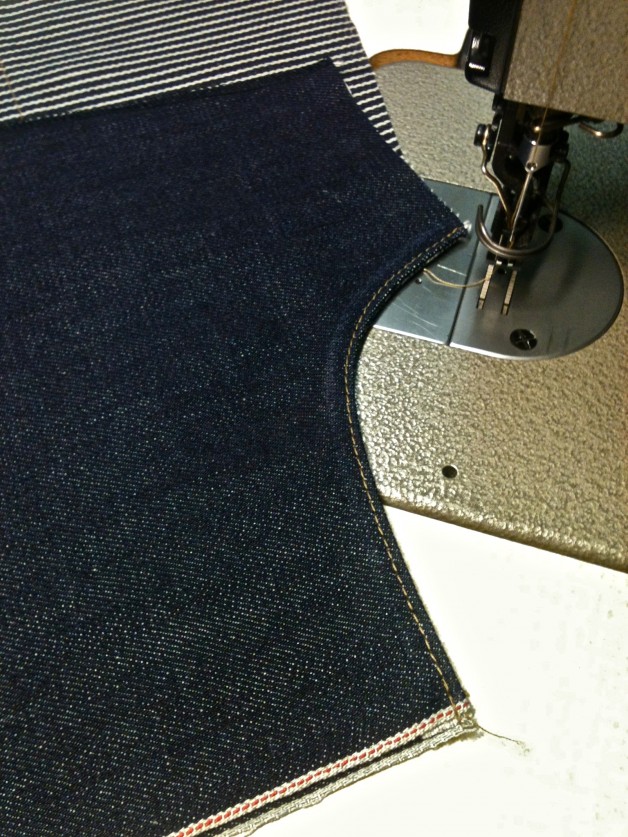
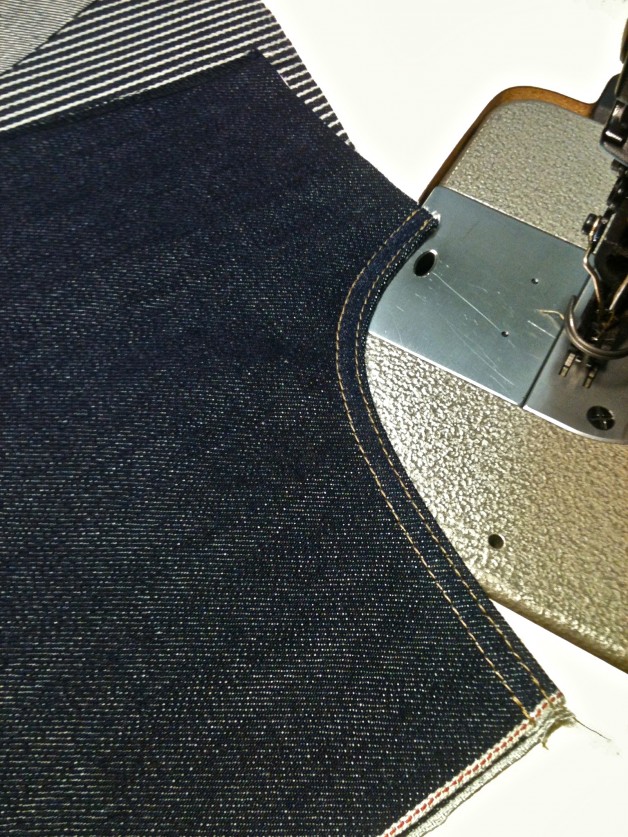
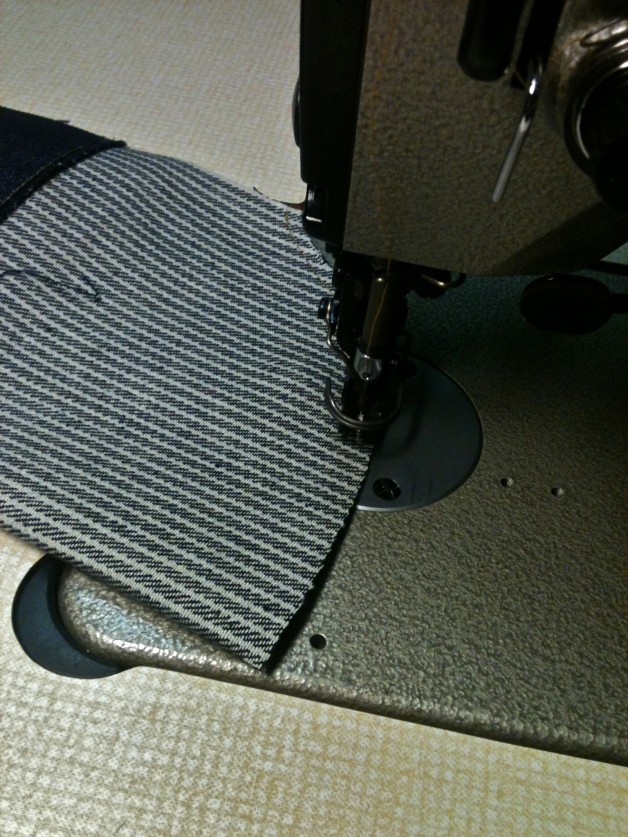
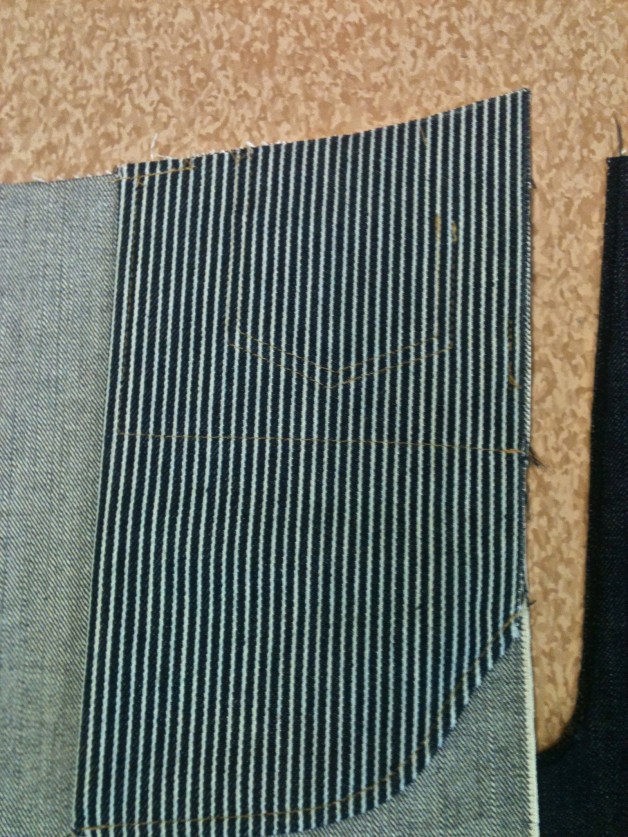
And now to the front pieces. Here I start with the pocket linings. I stitched the arcuate, and on the right front pocket the watch pocket has been attached. I then attach the pocket to the front pieces and also make stitches to cover the lose edges on the inside. Finally I close the pocket inside out, flip it over and again do a stitch to cover the loose edges.
That’s it for today. Next time you’ll see the final result!
Words by Timmy Persson.


16 comments
reputable indian pharmacies http://indiaph24.store/# top 10 pharmacies in india
best india pharmacy
mexican drugstore online: mexico pharmacy – purple pharmacy mexico price list
https://mexicoph24.life/# mexican pharmaceuticals online
mexican mail order pharmacies: п»їbest mexican online pharmacies – buying prescription drugs in mexico
indian pharmacies safe https://indiaph24.store/# world pharmacy india
online pharmacy india
best india pharmacy india online pharmacy п»їlegitimate online pharmacies india
https://ciprofloxacin.tech/# ciprofloxacin generic
buy cipro online without prescription: buy cipro – buy generic ciprofloxacin
where can i buy cipro online buy cipro online ciprofloxacin 500 mg tablet price
http://nolvadex.life/# tamoxifen 20 mg
https://lisinopril.network/# how much is lisinopril 5 mg
cytotec online: Abortion pills online – buy cytotec
https://nolvadex.life/# how to get nolvadex
ciprofloxacin: buy cipro – buy cipro
https://lisinopril.network/# lisinopril brand name in india
ciprofloxacin 500mg buy online ciprofloxacin order online cipro pharmacy