
Achieve Your Raw Denim’s Full Potential
The best-looking jeans are without a doubt those you break in yourself. The process is challenging and time consuming. Success or failure comes down to what you do before you wash your jeans, how you wash them, and what you do after the first wash. In this three-step raw denim wash guide, we show you how to transform a pair of rigid, dark blue, raw denim jeans into something that will make heads turn.
The Starting Point
To achieve a great worn-in look, we recommend that you choose a pair of high-quality raw denim jeans, which (generally) breaks in better. Figuring out whether your jeans are made of a quality fabric is not that easy.
Take a look at our selection of raw denim jeans here!
A general rule of thumb is to go for selvedge denim. Fold up your jeans at the bottom and take a look at the outerseam of the leg. If it has selvedge edges, the quality is normally high, although not always. Like in everything else in life, you get what you pay for.
See our guide to buying your first pair of selvedge denim jeans for more hints and tips on finding the perfect pair for you.
Step 1: Before the First Wash
Unwashed denim is often stiff as cardboard. We recommend you to give your jeans a quick soak in the bathtub before you start wearing them. Read how to here.
The initial pre-soak will remove most of the starch and soften the fabric. Even though some argue that rinsed jeans won’t wear in as well as dry ones, the rinse will make your jeans last longer. In this article, you can read more about how to make your jeans last longer.
Before soaking and washing, turn the jeans inside out. Let them soak for an hour or two and then let them hang dry, possibly in your shower. Certainly never in the dryer.
After the pre-soak, wear your jeans as much as possible – preferably for several months – before you wash them for the first time in the washing machine. The more you wear your jeans, the more distinct wear patterns you will achieve.
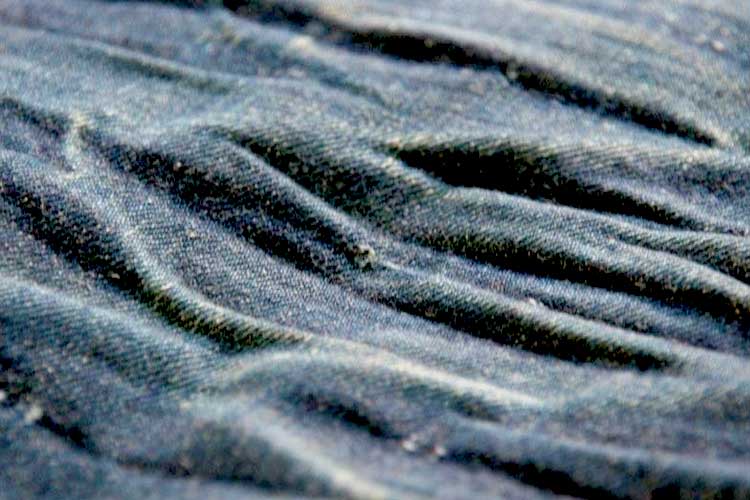
Several months of intense wear will cause the denim to wear in some areas more than others. Especially in areas with a lot of friction, for example, cuffs, crotch, knees and pockets.
Remember that the rips can be repaired. In our opinion, this only gives your jeans a personal and unique look. Also, although you should be careful, ironing might help soften the fabric. Just remember to iron your jeans inside-out.
Step 2: The First Wash
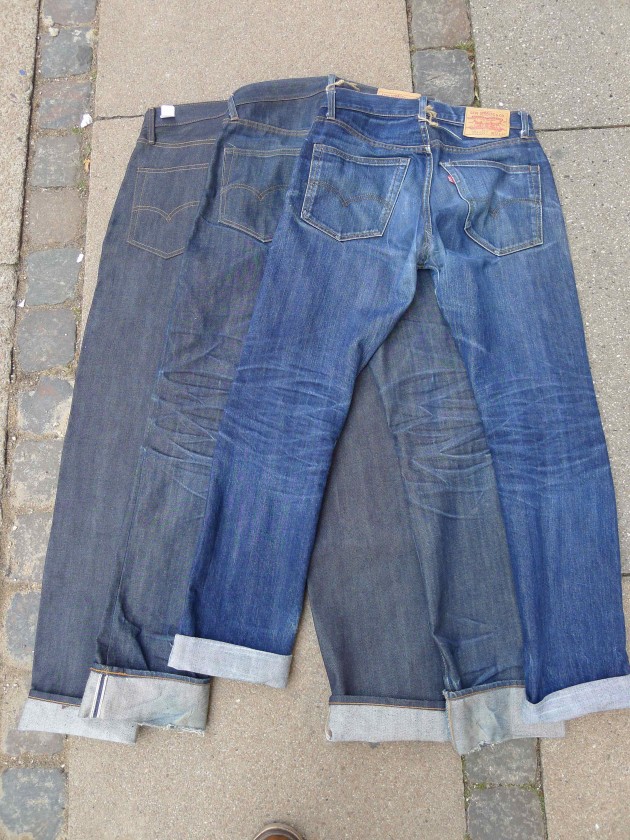
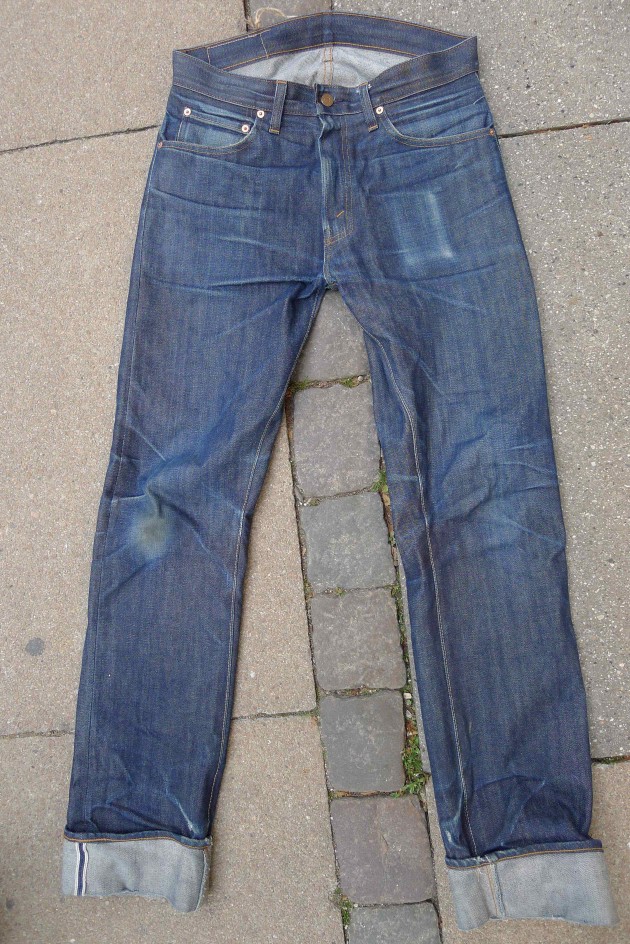
Once your jeans start looking the ones above it’s okay to wash. These have been worn for eight months straight and they have only been dry cleaned once.
If you still want to postpone the first wash, try airing your jeans before you wash. But, when you start getting comments about the smell, it’s time to wash.
The washing procedure depends on what results you are aiming for. Some prefer dry cleaning to keep the denim as dark as possible. We recommend hand wash – the procedure is the same as for the first rinse.
Adding a few cups of salt and half a cup of vinegar should help fixate the indigo colour.
If you are impatient and want to see some results you can throw your jeans in the washing machine. Again, remember to turn them inside out! You can even wash them on a no-spin cycle to prevent those horrible vertical lines. Dry as mentioned above.
Step 3: After the First Wash
After the first wash, your jeans will be less dirt repellent. To go for months between each washes might be unrealistic. But, you should wear your jeans as much as possible between washes.
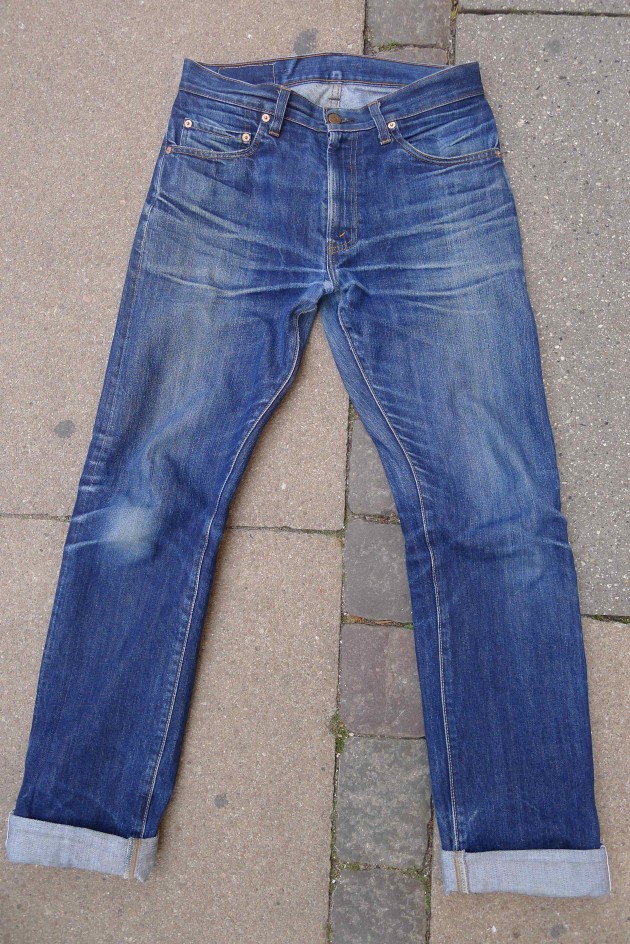
This pair of Levi’s Vintage Clothing 1967 505 jeans has been worn every day for four months and washed about 7-8 times during this period.
If you are looking for vintage-style fades with a more even wear pattern and less contrast, then don’t wait months before the first wash. You should wash them more often.
48 comments
I prefer to wear dry denim blue jeans rather than the contrived vintage jeans filling department store racks. My jeans never smell bad, because I was my ass very egularly, keep clean under ware and spot clean the crotch area daily. It is easy to do.
HELP! I found of levis’ for men in a thrift store. can you tell me any more about them? they have only a tag on inside pocket LEVI’S FOR MEN
TWO-HORSE*BRAND JEANS (there is not an astrik but a small o or zero of some kind)
they have a small leather tag/tab on back pocket right side that say’s Levi’s in red. they just have one button and a zipper..zipper is stamped levi’s both sides
outer seam is one line and iner seam is 2 seams
no rivets on back pockets, and only one rivet on watch pocket. inside rivets are thin and sliver, out side is copper. Thanks Kay
never wash only wear and if they smell put in a cold room for 2 days that helps,been buying and selling denim for 24 years now so this is a good tip.
When you say 2 months, do you mean 60 days wear? Or 2 months has passed, but you’ve only worn them for 18 days because you only wore them at weekends?
This is a very relevant question to ask John.
Anyone ever tried the gadget at jeanjet.com
Interesting
While yes if you don’t do anything at all to your jeans for daily wear after months they will stink horribly… your jeans should really not have any noticeable odour after 2 normal days of wear… the exception would be if you’re in a desert, or some place over 35 celcius…. so yeah if you have that problem, stop shitting your pants.
Agreed! Too funny.
Ruedi Karrer has always been one of those good examples of how to agree to disagree nicely
Day two? So you wash your pants one time after wearing them? If you are wearing clean underwear and actually wiping, I don’t see how one’s jeans would smell after only wearing them twice.
Hello, I wish for to subscribe for this weblog to gget latest updates, so where caan i do
it please help out.
Feel free to visit my blog post … https://Telegra.ph/Mobile-online-casinos-10-23
I have learnn some excellent stuff here. Definiktely value
bookmarking ffor revisiting. I surprise how much effort you place to make any such fantastic
infofmative website.
Feeel free to visit my site – https://mobileslot.Evenweb.com/
Very great post. I just stumbled upon your blog and
wanted to menton that I’ve really loved surfing around your weblog posts.
In any case I’ll bee subscribing on your rss feed and I am hoping you write once more soon!
Take a look at my wweb page: Holiday
Excelleent waay oof telling, and good article tto obtain fazcts concerning my presentation subject, which i am going to convey in institution of
higher education.
Visit my page; William
Wow, incredible blog structure! How lengthy have you been running a blog
for? you make blogging glance easy. The full look of your web site is magnificent,
let alone the content material! You can see similar here
sklep online
Nice weblog here! Additionally your web site loads up fast!
What web host are you the use of? Can I get your affiliate link
to your host? I desire my website loaded up as fast as yours
lol I saw similar here: Sklep internetowy
Hi there! Do you know if they make any plugins to assist with SEO?
I’m trying to get my blog to rank for some targeted
keywords but I’m not seeing very good results. If you know
of any please share. Cheers! You can read similar text here: Ecommerce
It’s very interesting! If you need help, look here: ARA Agency
Howdy! Do you know if they make any plugins to help with SEO?
I’m trying to get my blog to rank for some targeted keywords but I’m not seeing very good results.
If you know of any please share. Appreciate it! I
saw similar text here: Scrapebox AA List
I do trust all of the ideas you’ve presented in your
post. They’re really convincing and will certainly work.
Still, the posts are very quick for newbies. Could you
please lengthen them a little from subsequent time?
Thank you for the post.
Also visit my web-site: vpn special code
Thanks to my father who informed me concerning this webpage,
this web site is genuinely remarkable.
my web blog :: vpn coupon 2024
I blog frequently and I truly appreciate your content.
This great article has really peaked my interest. I am
going to take a note of your site and keep checking for new information about once a week.
I subscribed to your RSS feed too.
My site – vpn 2024
I feel that is one of the most vital information for
me. And i’m happy reading your article. But should observation on few
basic issues, The website style is wonderful, the articles is truly nice :
D. Good activity, cheers
Here is my website – vpn coupon 2024
Wow, awesome weblog structure! How lengthy have you ever
been blogging for? you make running a blog look easy.
The whole glance of your web site is excellent, let alone the content!
You can see similar here najlepszy sklep
I love it when people come together and share opinions, great blog, keep it up.
buying prescription drugs in mexico: Online Pharmacies in Mexico – buying from online mexican pharmacy
indian pharmacies safe http://indiaph24.store/# india pharmacy mail order
reputable indian pharmacies
online shopping pharmacy india Online medicine home delivery india online pharmacy
https://indiaph24.store/# indian pharmacy paypal
mexican drugstore online: Online Pharmacies in Mexico – mexico drug stores pharmacies
pharmacy website india http://indiaph24.store/# online pharmacy india
indian pharmacy paypal
Online medicine home delivery Generic Medicine India to USA Online medicine order
http://mexicoph24.life/# medicine in mexico pharmacies
cipro for sale buy cipro online canada cipro for sale
http://ciprofloxacin.tech/# buy generic ciprofloxacin
buy cytotec online fast delivery: cytotec pills online – cytotec abortion pill
tamoxifen moa tamoxifen for sale cost of tamoxifen
https://cytotec.club/# buy cytotec in usa
lisinopril 20 mg mexico: lisinopril 20 mg buy – lisinopril 10mg tablet
https://nolvadex.life/# liquid tamoxifen
ciprofloxacin 500mg buy online where can i buy cipro online ciprofloxacin
http://lisinopril.network/# medication lisinopril 10 mg
propecia prices: order cheap propecia pills – buying cheap propecia price
buying cheap propecia without a prescription order generic propecia for sale cost propecia prices
http://lisinopril.network/# over the counter lisinopril
https://ciprofloxacin.tech/# buy cipro
buy propecia no prescription generic propecia online cost cheap propecia for sale
cytotec buy online usa: Misoprostol 200 mg buy online – Misoprostol 200 mg buy online